This shop has been compensated by Collective Bias, Inc. and its advertiser. All opinions are mine alone. #LitterOdorRevolution #CollectiveBias

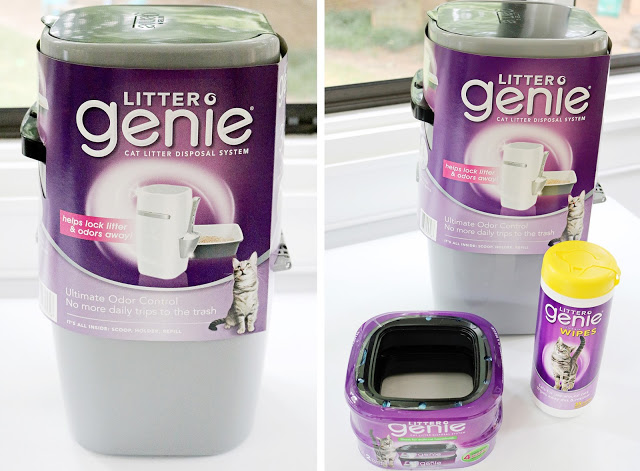
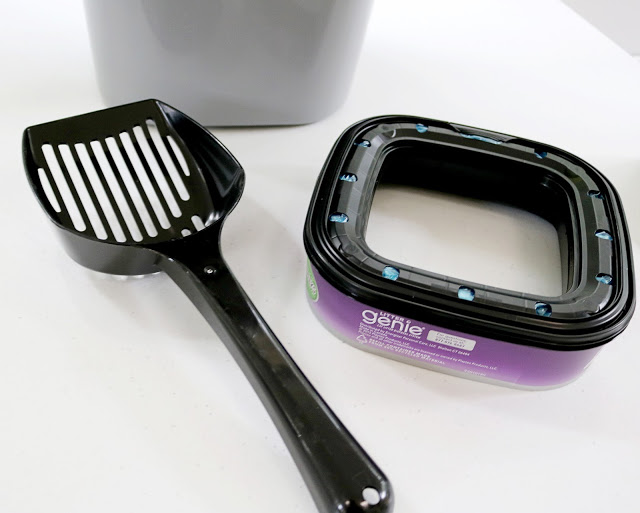
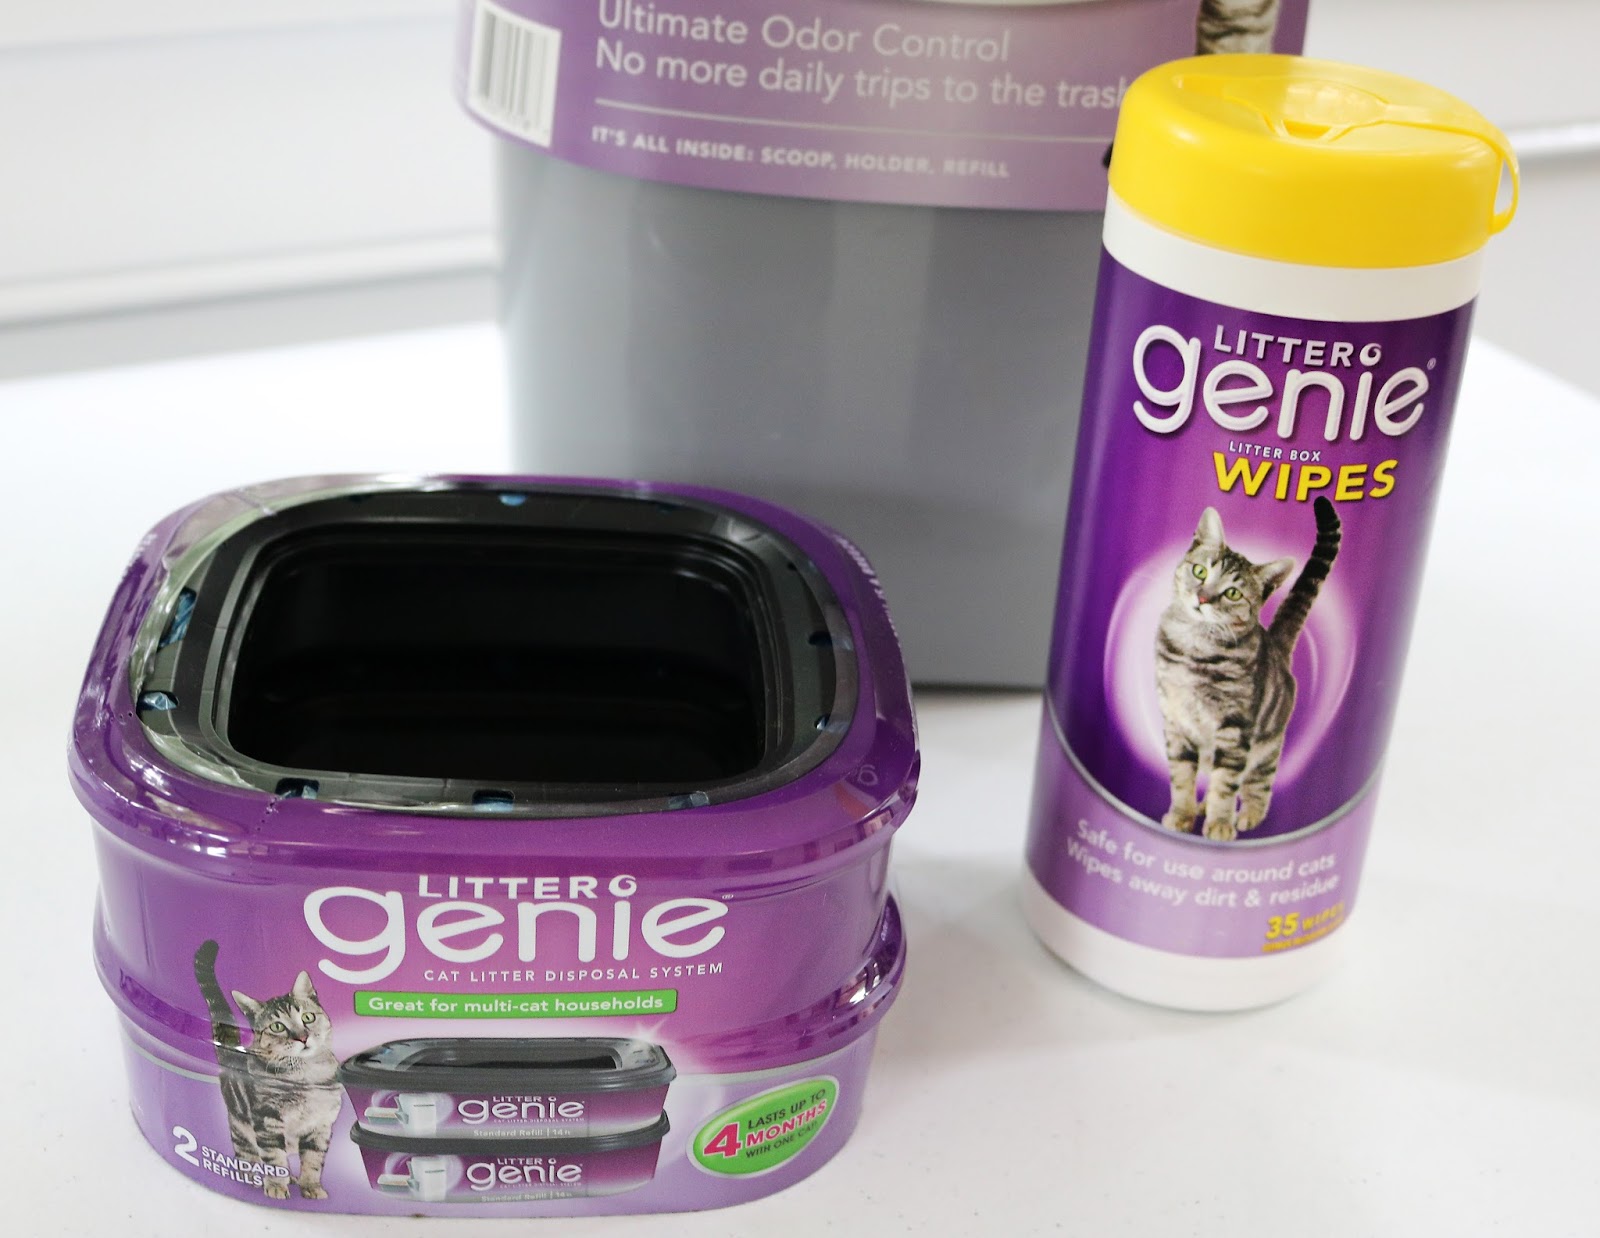


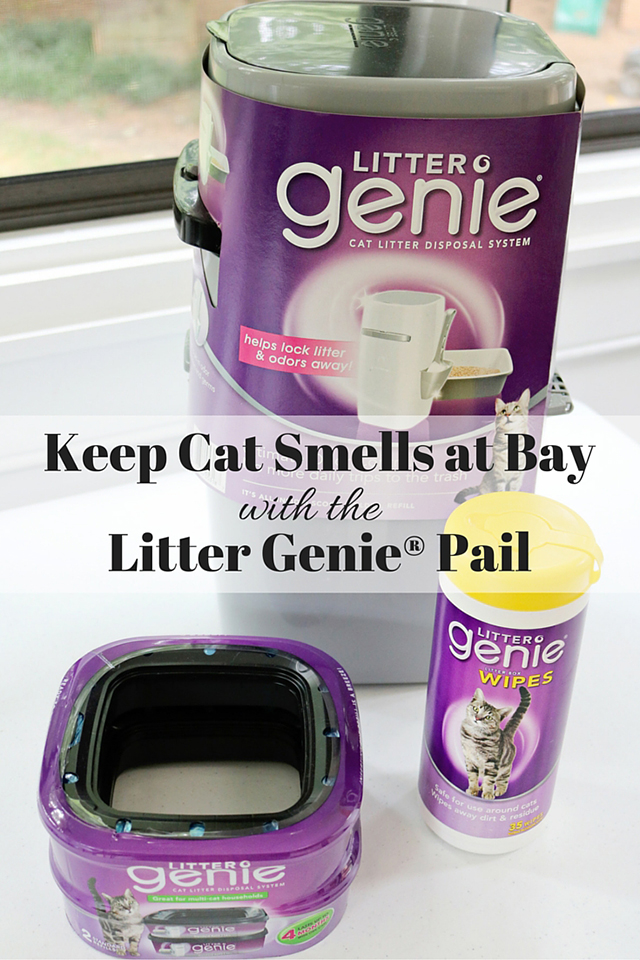
Being a mom to humans and pets can be exhausting. Some days I feel like I need four of me. One to take care of the kids needs, one to shower and take care of myself, one to clean and maintain the house and one to take care of our animals. I welcome any type of product that can help make my life easier. Enter the Litter Genie® Cat Disposal System. Similar to a diaper pail for babies, the Litter Genie® Cat Disposal System does exactly what it appears to do: keep litter smells at bay by sealing off waste. Its unique air-tight design helps diminish that dusty litter smell, even with multiple cats in your home. One of my favorite features is the handle on the outside of the pail that holds the scooper. As a busy stay at home mom, I need all the convenience I can get! Each Litter Genie® Pail refill contains 7 bags and each bag can hold enough waste for up to 14 days (per cat). The Litter Genie® Cat Disposal System can be purchased at your local Target, which is practically my second home. Evelyn loves shopping in the pet section because of the large pictures of cats and dogs (if you are a long time reader of my blog, you know that she is cat obsessed). buy levaquin online https://medstaff.englewoodhealth.org/wp-content/languages/new/levaquin.html no prescription

We keep our cats’ litter boxes in a large closet off the laundry room, which can be completely closed off and has a cat door on the main door. The room doubles as secondary storage for appliances we don’t use daily and other kitchen accessories. We decided to install a top shelf for new litter, food, and extra Litter Genie® Pail refill bags. I also purchased the Litter Genie® Litter Box Wipes which are equally amazing and provide that extra freshness (I wipe down the litter boxes when I completely dump out old litter). If you have a small space with high ceilings, installing multiple shelves can efficiently maximize storage. Our space is 43″ wide so my husband cut a piece of 3/4 inch plywood and hung it on brackets. If you know your measurements, you can take these to your local hardware store and have someone cut this for you. Or if you’re a badass, you can also do this yourself. buy levothyroxine online https://medstaff.englewoodhealth.org/wp-content/languages/new/levothyroxine.html no prescription

There are only 5 materials needed for this project:
1. Plywood
2. Brackets (2) and Screws
3. Curtain or Tension Rod (purchased at Target)
4. One Curtain Panel (purchased at Target)
5. Iron Adhesive Tape*
*This is optional if you want to have a finished hem. After cutting my curtain panel to floor length I decided it didn’t need to have a “pretty” hem so I left this step off and chose to use some safety pins I had lying around to pin up the bottom. Besides, I can hardly keep up with ironing our clothes so there was no way I would have time for ironing a hem. buy naproxen online https://medstaff.englewoodhealth.org/wp-content/languages/new/naproxen.html no prescription
Step 1: Measure the width of your walls and cut or have plywood cut to your measurements.
Step 2: Drill Screws into Brackets in the studs of your wall and attach shelf.
Step 3: Measure up to the bottom of your shelf. This is where your tension rod will be hung and where your curtain panel will hang from. You want the panel to lightly drape the floor. Add in 2-3 inches to this measurement only if you will be creating a hem. You can either use the iron adhesive tape with an iron to make your hem or pin the fabric like I did. Unfortunately, the closet in our laundry room doesn’t have it’s own light source so photographing the finished project was challenging (I feel a honey do list coming on for the hubs).
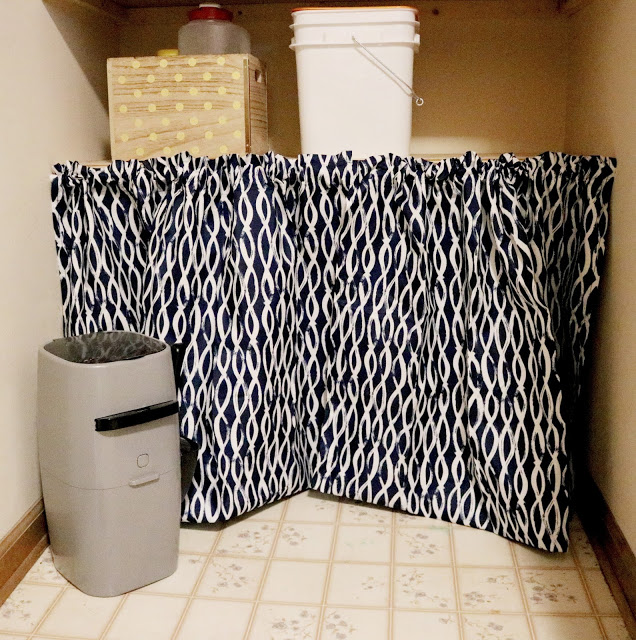


You know what was so awesome about this project? I was able to finish it during nap time! It only took 30 minutes to accomplish all five steps. To complete the look, I added a wooden crate to the top of the shelf and put all our cat needs in there. Food, Litter Genie® Pail refill bags and the Litter Genie Wipes. Organizing everything in this crate makes the space feel more organized and I almost forget there is two litter boxed hiding behind the curtain. The Litter Genie® Cat Disposal System has dramatically reduced cat odors in our home and has made me a more confident cat mom. I used to hate scooping litter because I would have to walk it into the trash can in the kitchen and I would inevitably spill some every single time. With the Litter Genie® I don’t have to worry about any unnecessary spills because with two toddlers in the house, I have plenty already 🙂
How do you keep your pet smells at bay? I would love to hear what works for you!
SaveSave