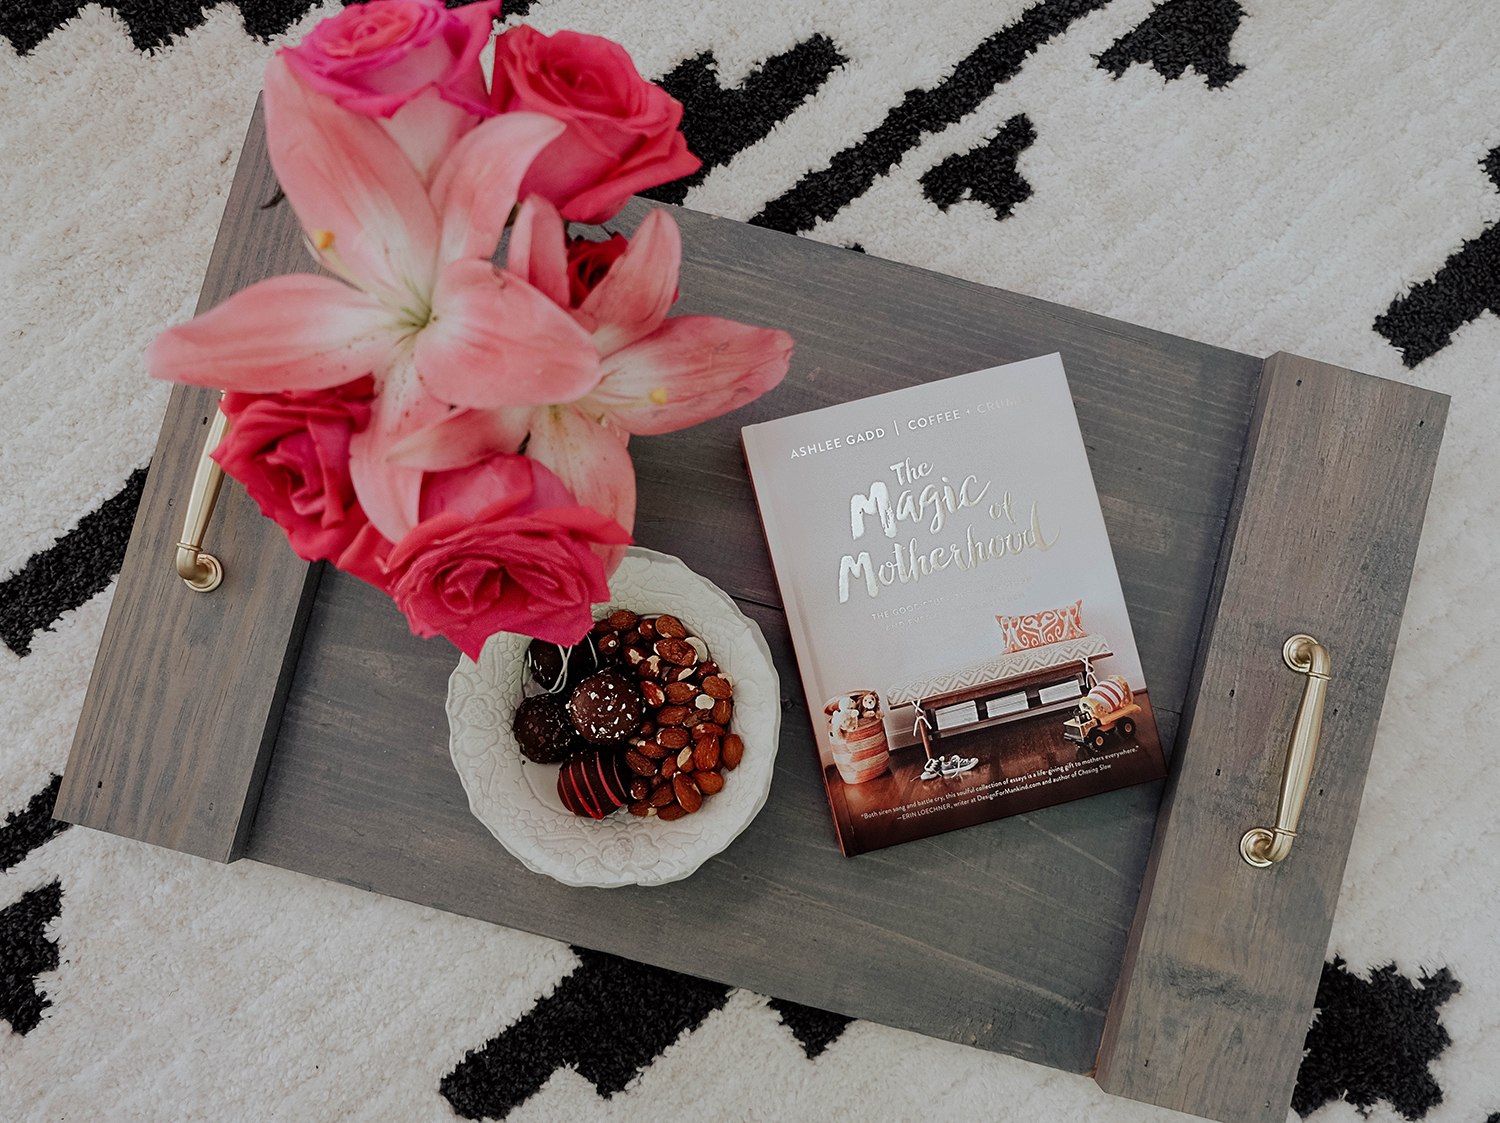
I’ve been lucky to have a husband who is extremely handy when it comes to carpentry and building things. Over the years I’ve learned a lot from him and picked up some easy tricks which have come in handy for small projects I want to do by myself. A few months ago we upgraded our coffee table to a beautiful dark gray tufted ottoman. It looks perfect in our living room and has soft edges for the kids. With Mother’s Day right around the corner, I thought it would be fun to create a Stained Wooden Tray which can be used as the perfect gift along with flower bouquets from 1-800 Flowers. Pink Roses & Lily’s are one of my favorite combinations and I love separating bouquets and dispersing them all over the house. Something about seeing fresh flowers everywhere makes me happy and in a better mood. All bouquets from 1-800 Flowers can be ordered with or without a vase and I chose to order just the bouquet since I usually trim short and put in mason jars or smaller vases that I already have. I find that when I break up the flowers into smaller bundles they seem to bloom faster and stay fresh longer.
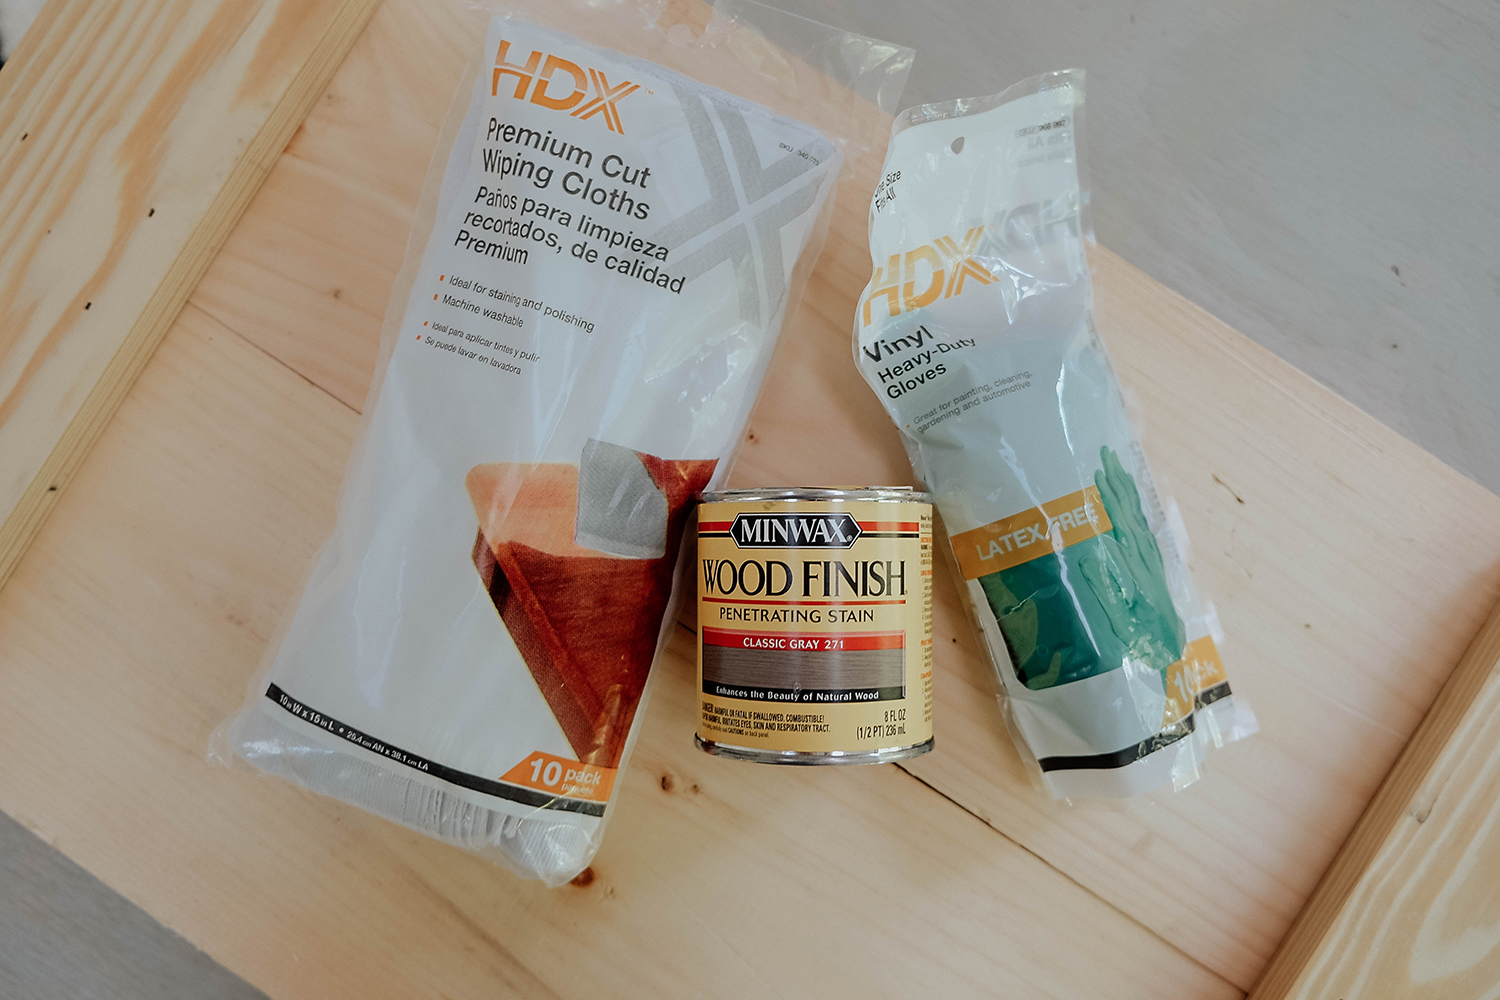
To make this stained wooden tray you’ll need the following list of items:
Materials:
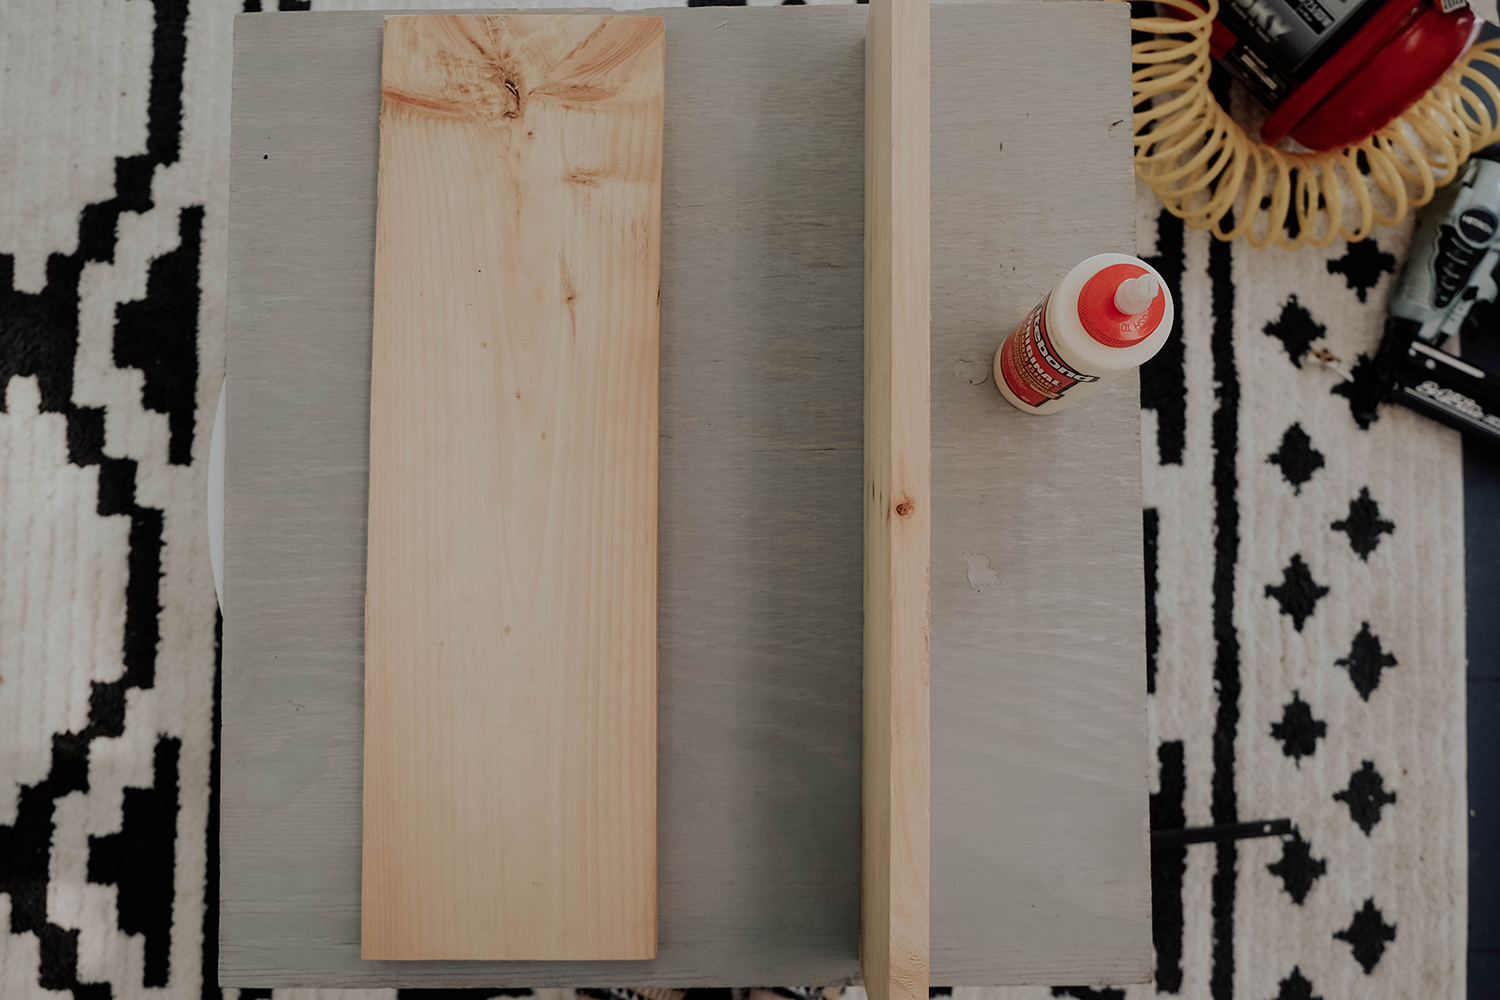
Two 24 inches pieces of 1×8 pine (this wood can be purchased and cut to size at your local hardware store).
Two 14.5 inch pieces of 1×8 pine (this wood can be purchased and cut to size at your local hardware store).
Wood Glue
1 1/4 inch brad nails
Stain
Latex Gloves
Staining Cloth
Hardware: Two Drawer Pulls or Handles (these can be found on Amazon or any hardware store. I chose gold to tie in with the gold accents in our living room)
Tools:
Nail Gun
Drill
Clamp
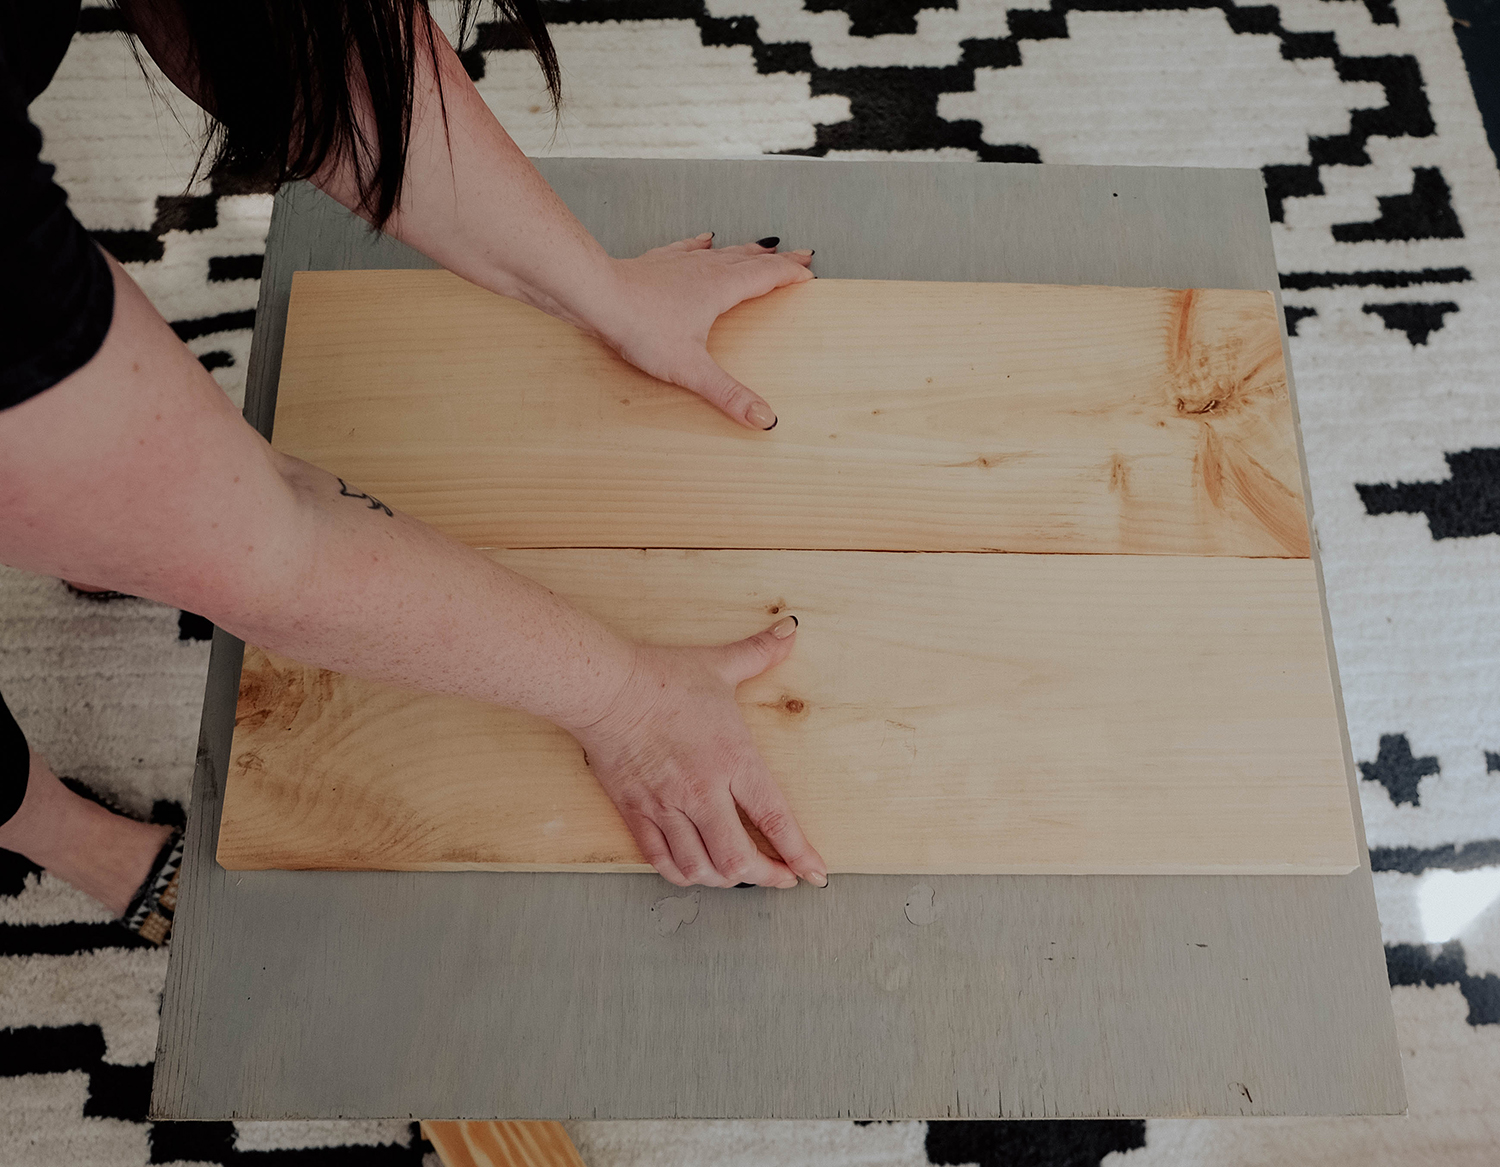
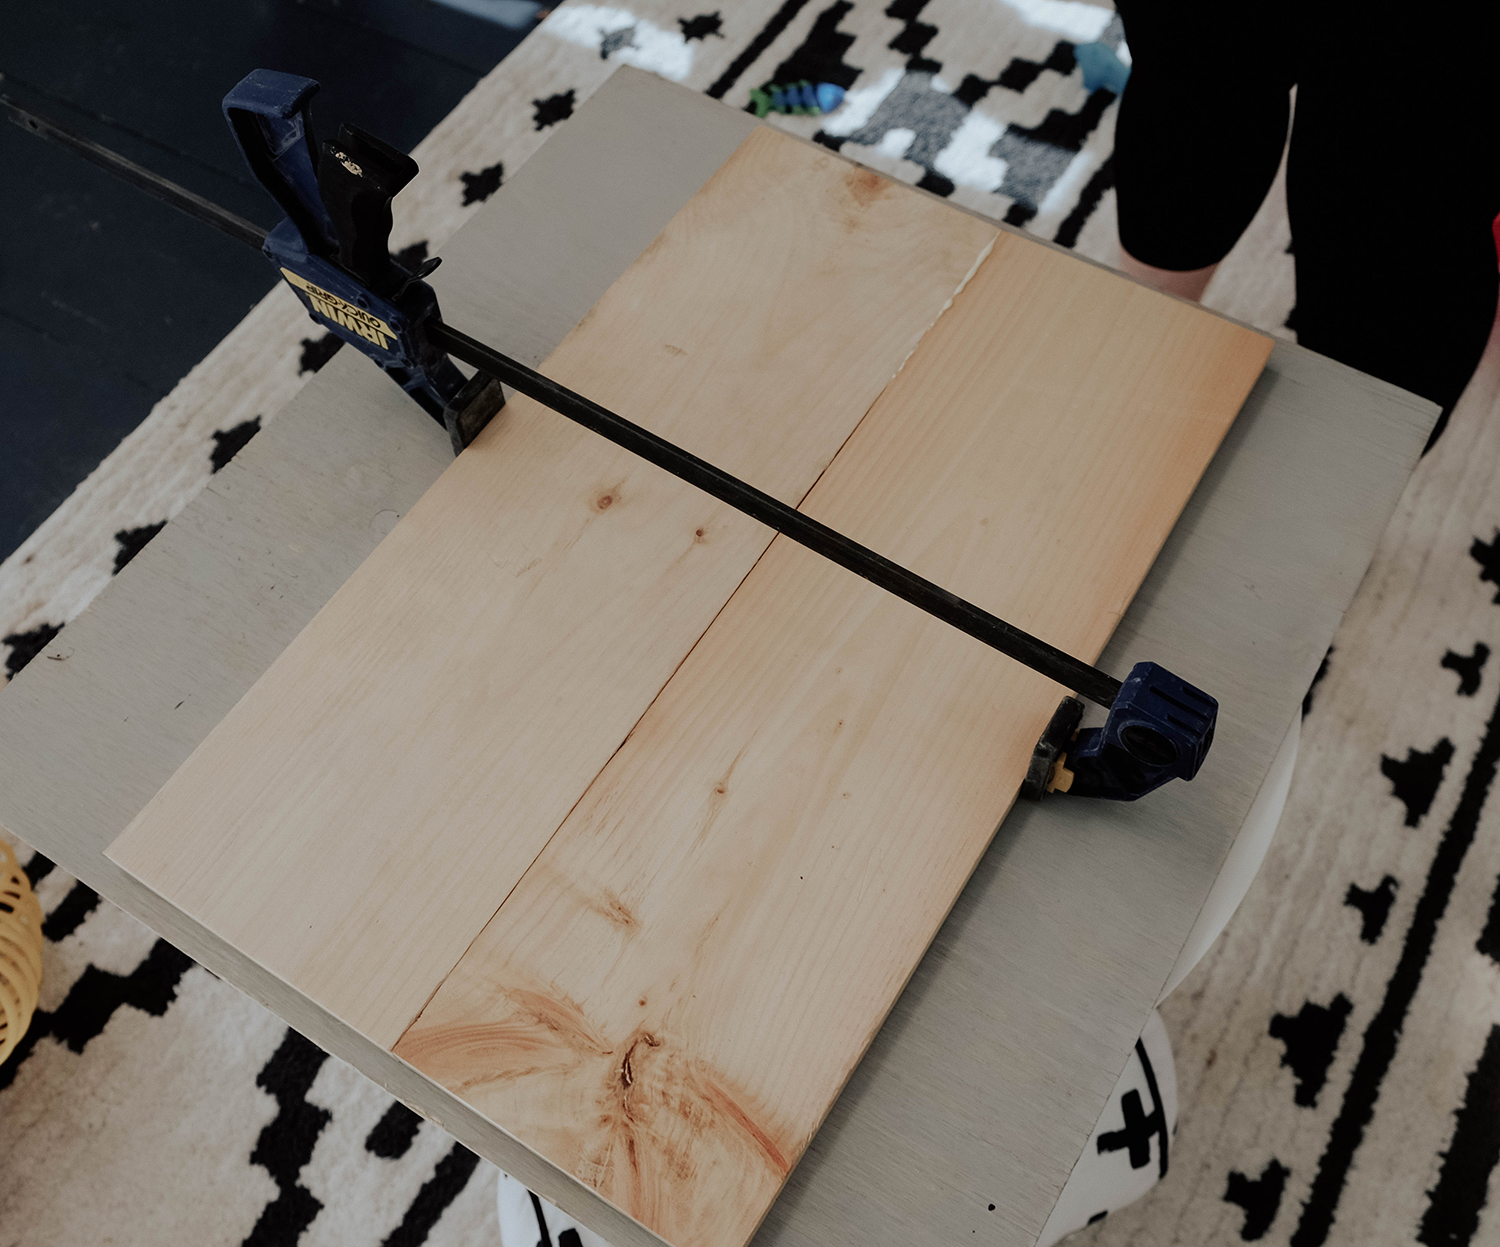
Step 1: This should be done the night before you are ready to stain your tray so that the wood glue can dry properly. Lay the two 24 inches pieces of pine side by side on a flat surface (not your kitchen counter, trust me on this). Add glue to the inside edges and clamp together. Wipe off any excess glue.
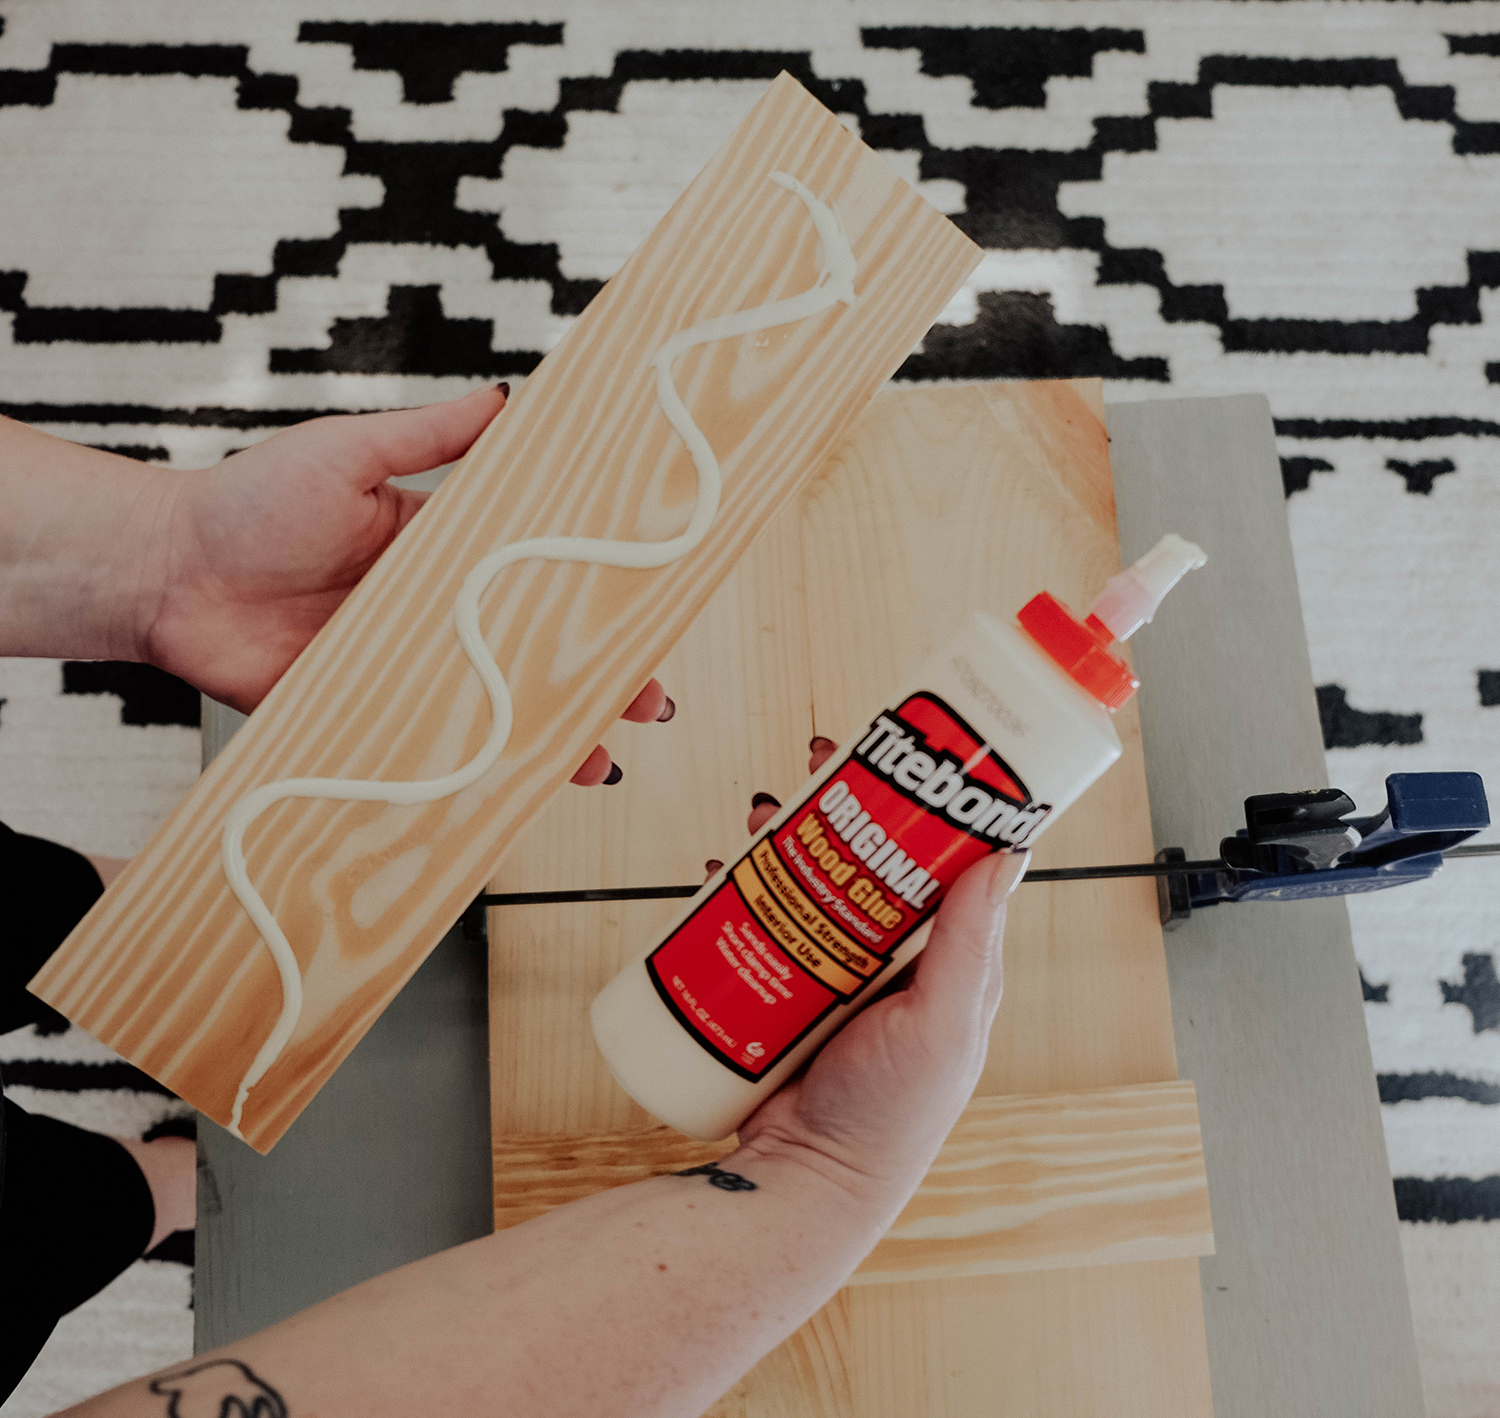
Step 2: Apply wood glue to the bottom of the two 14.5 inch pieces of wood, turn them over and place on each end of the base. Wipe off any excess glue and make sure all pieces of wood are lined up properly.
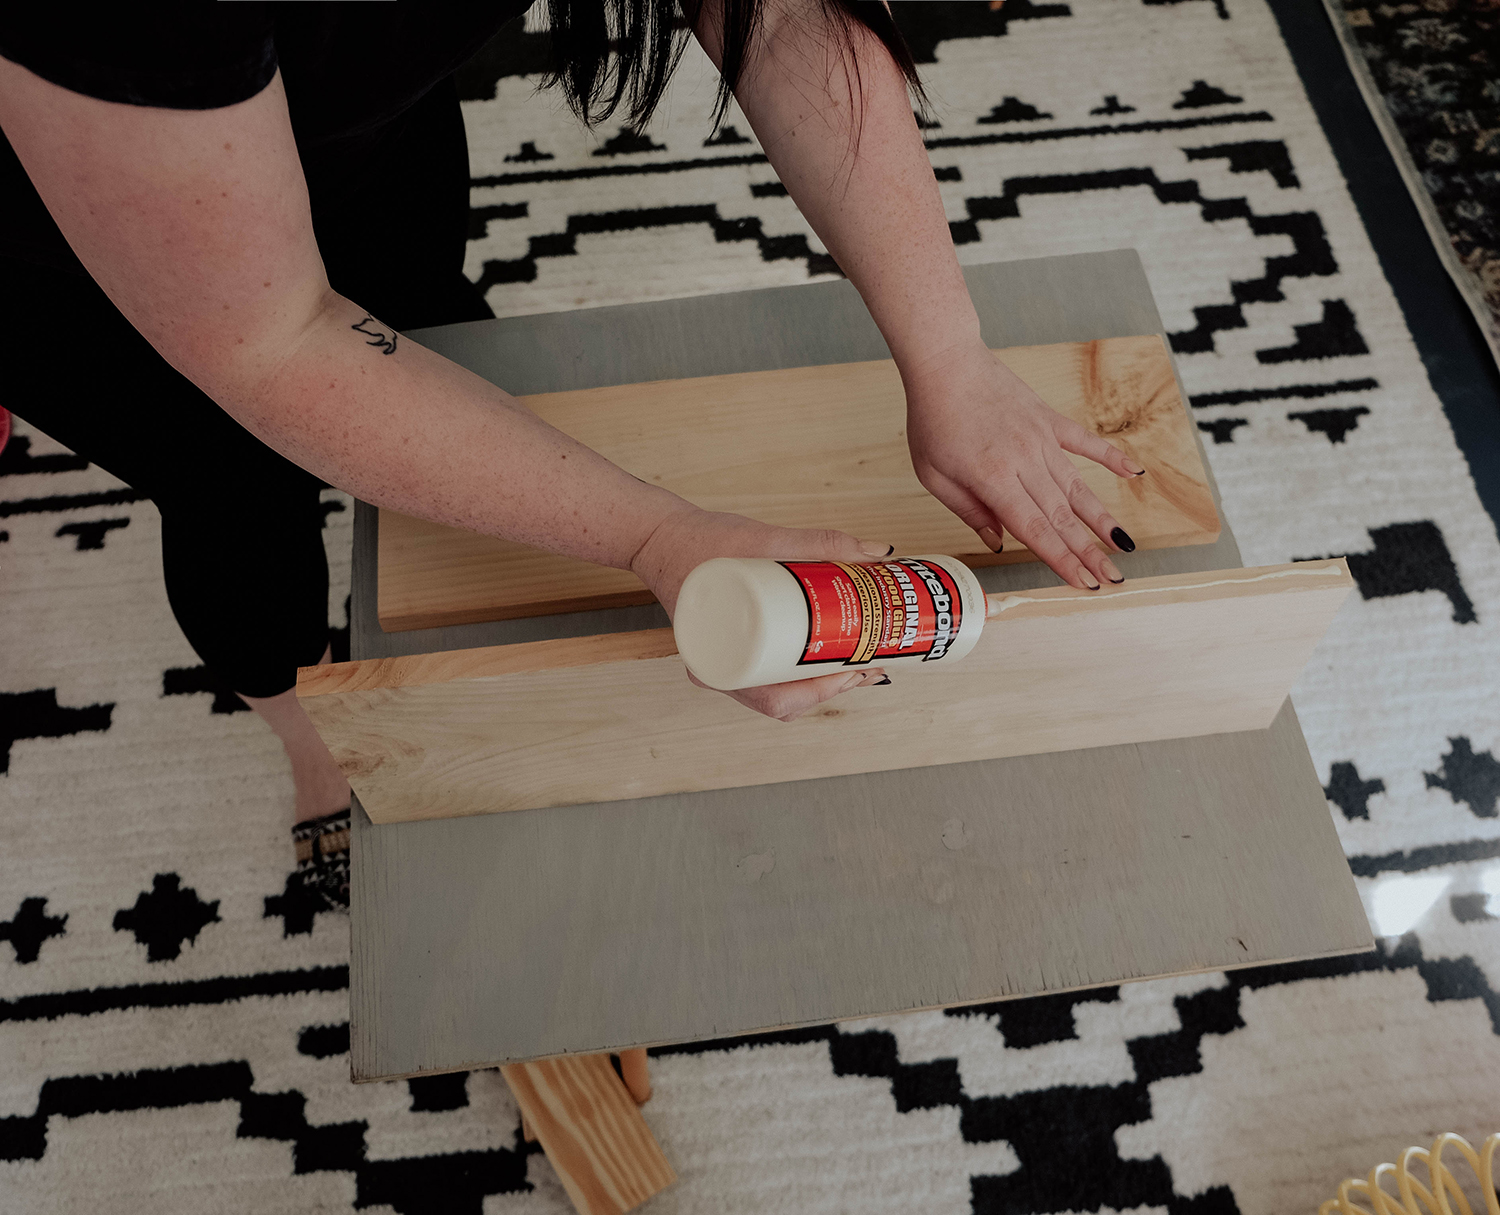
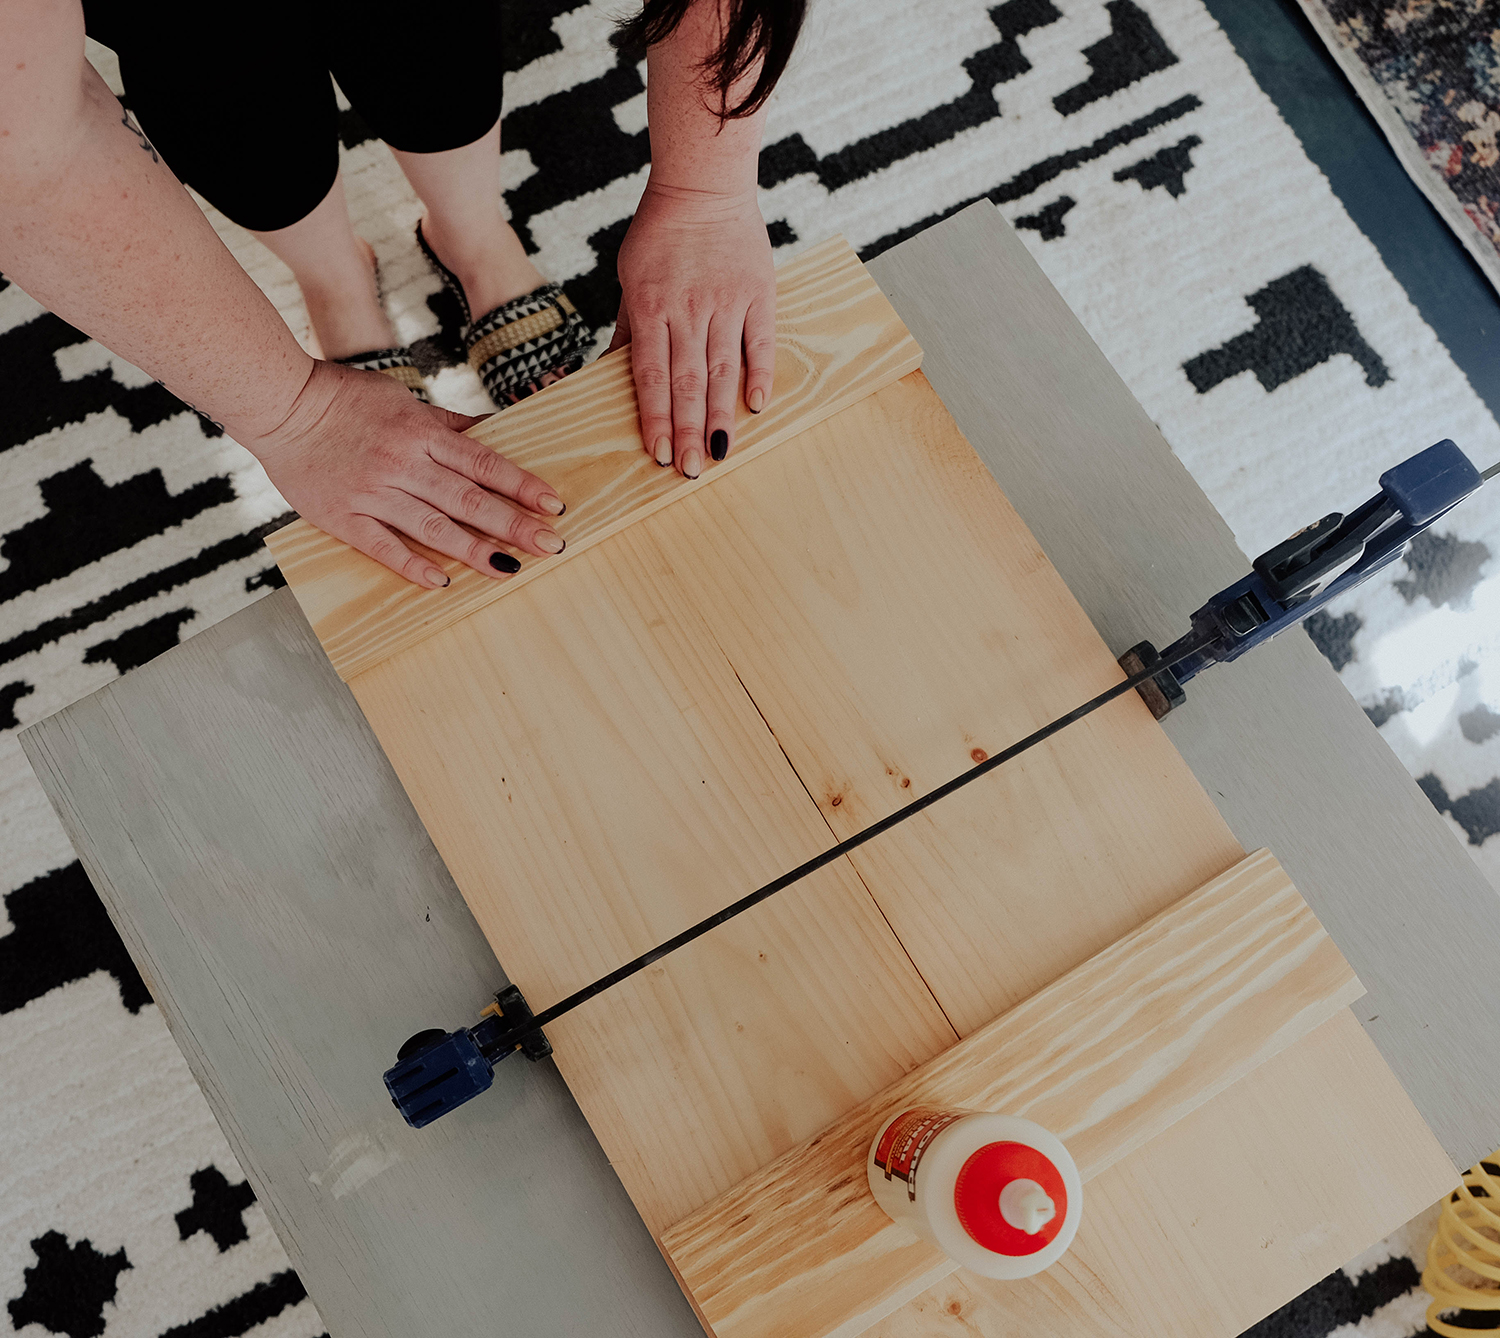
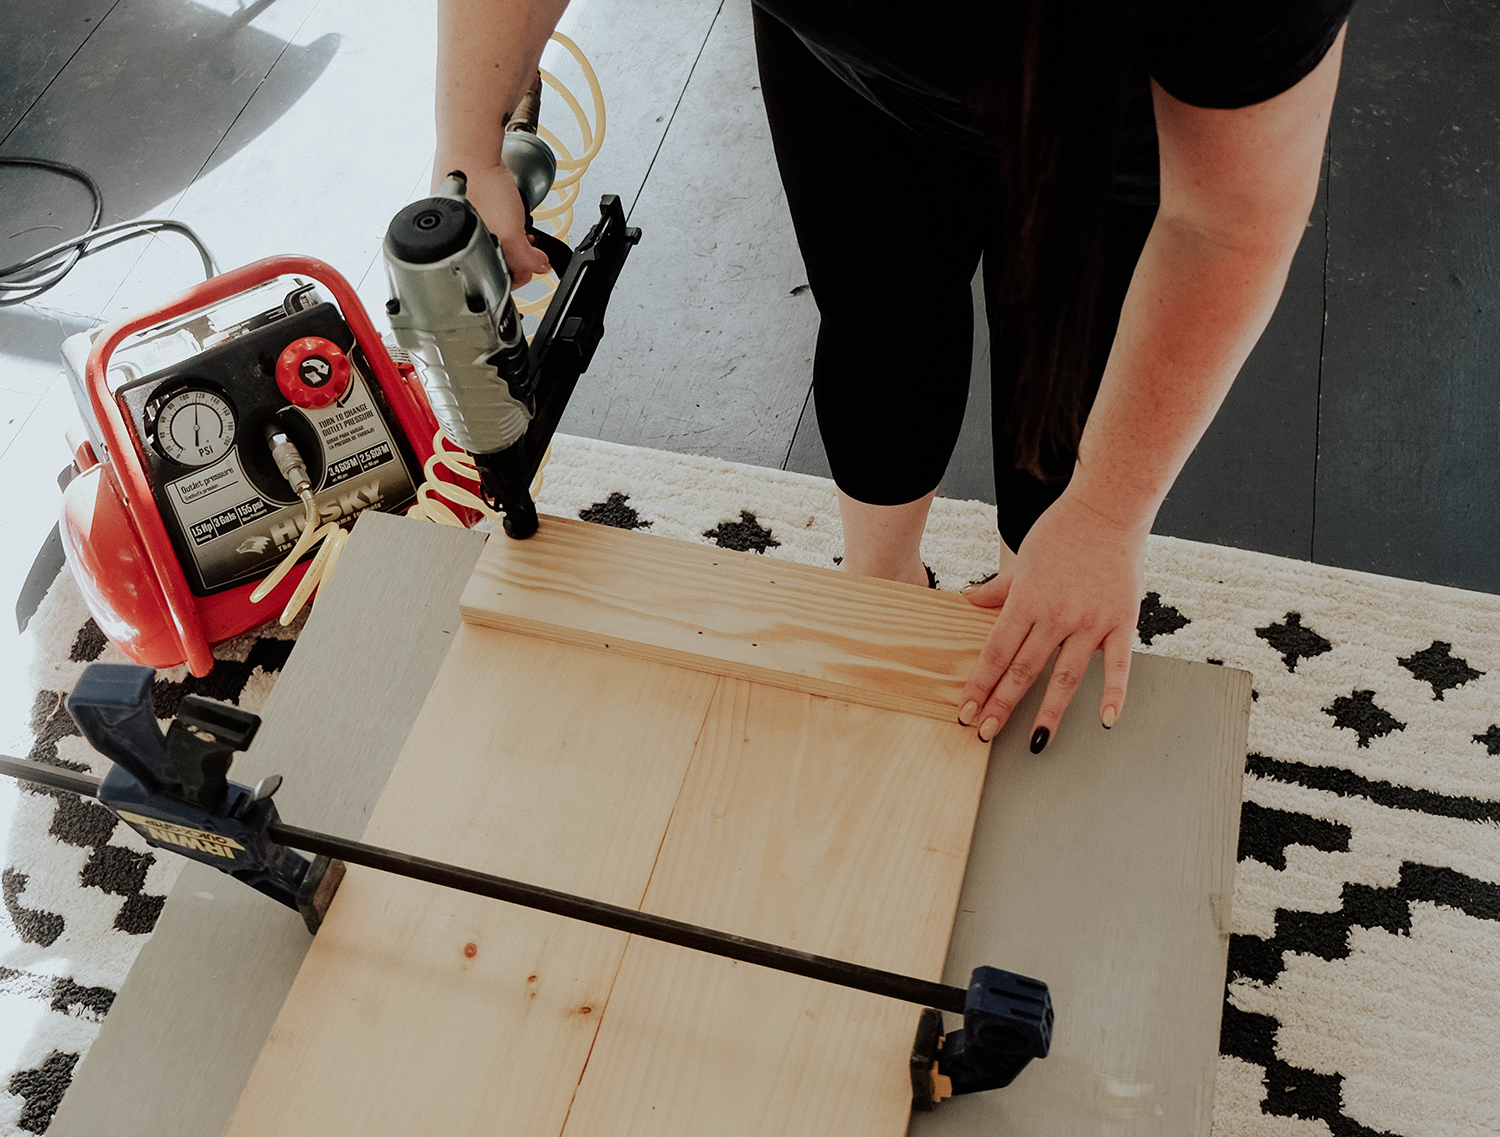
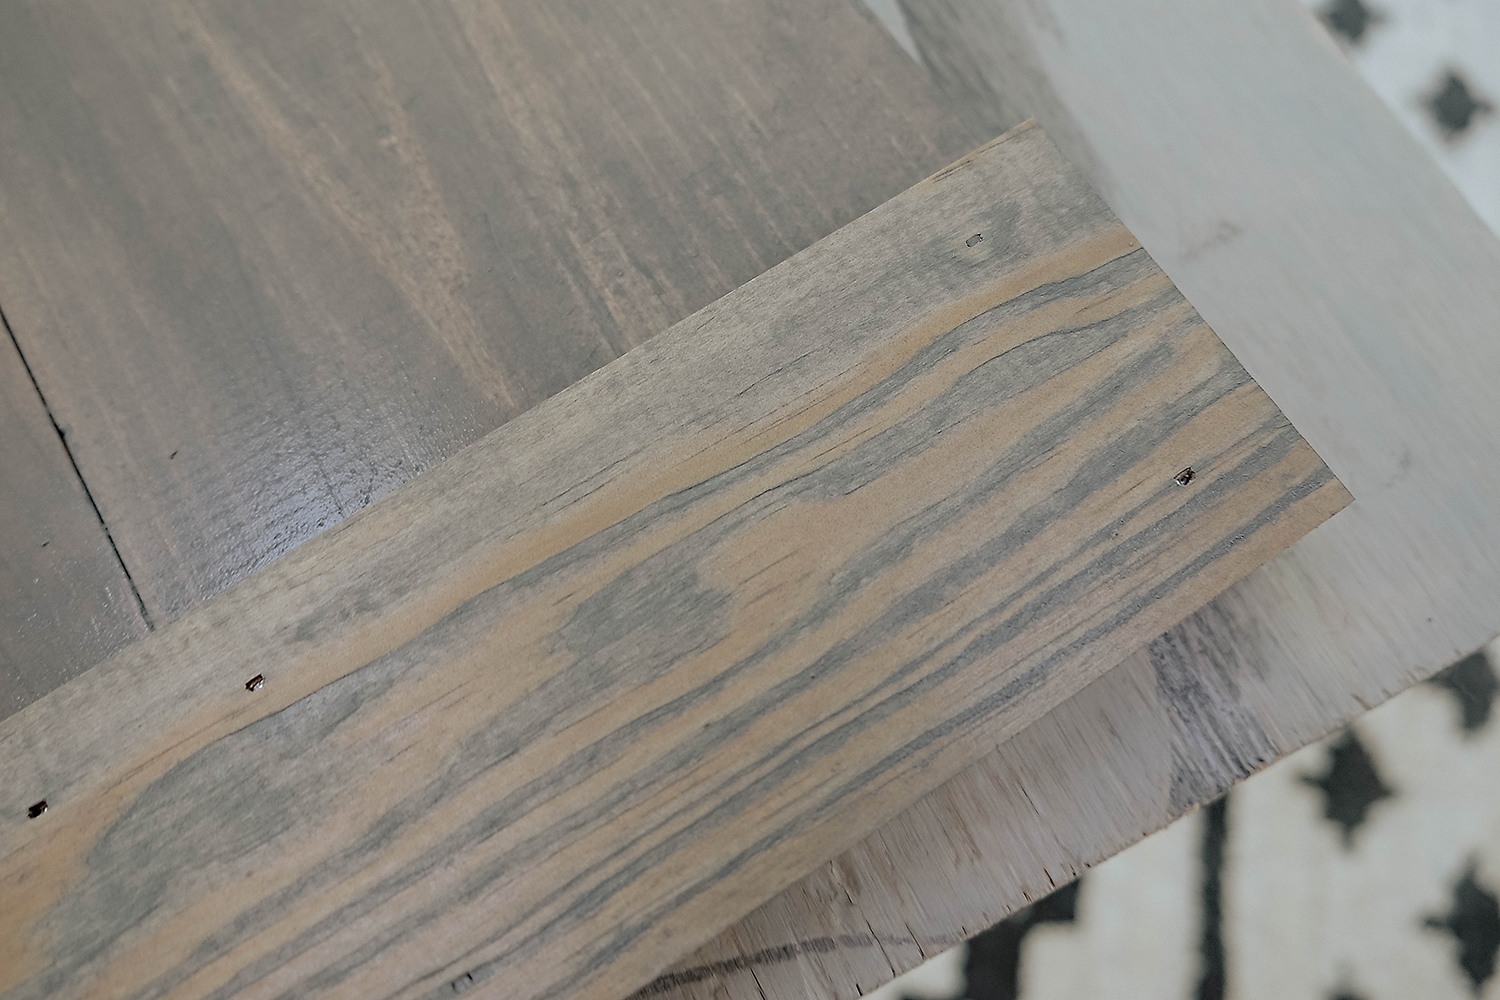
Step 3: Grab your nail gun and nail in 6 nails onto each 14.5 inch piece of wood to make sure it’s properly attached. Keep clamp on wood overnight to dry.
Step 4: Remove clamp and stain your tray. Do this outside if weather permits so you aren’t breathing in any fumes. Be sure to wear gloves during this process to avoid getting stain on your hands. Dip the staining cloth into the jar of stain and apply one coat at a time. I applied 2 coats of stain because I like to see some of the wood grain show through. Allow each coat to try properly before adding a new one. Luckily it was sunny and warm when I stained my tray so I didn’t have to wait long.
Step 5: Once your stain coverage is the color you like and completely dry, assemble the hardware. Use your drill to screw in the hardware to the two 14.5 pieces and Voila! You just made your own farmhouse tray in 5 easy steps! This tray can also be used to serve breakfast in bed (hint hint husbands).

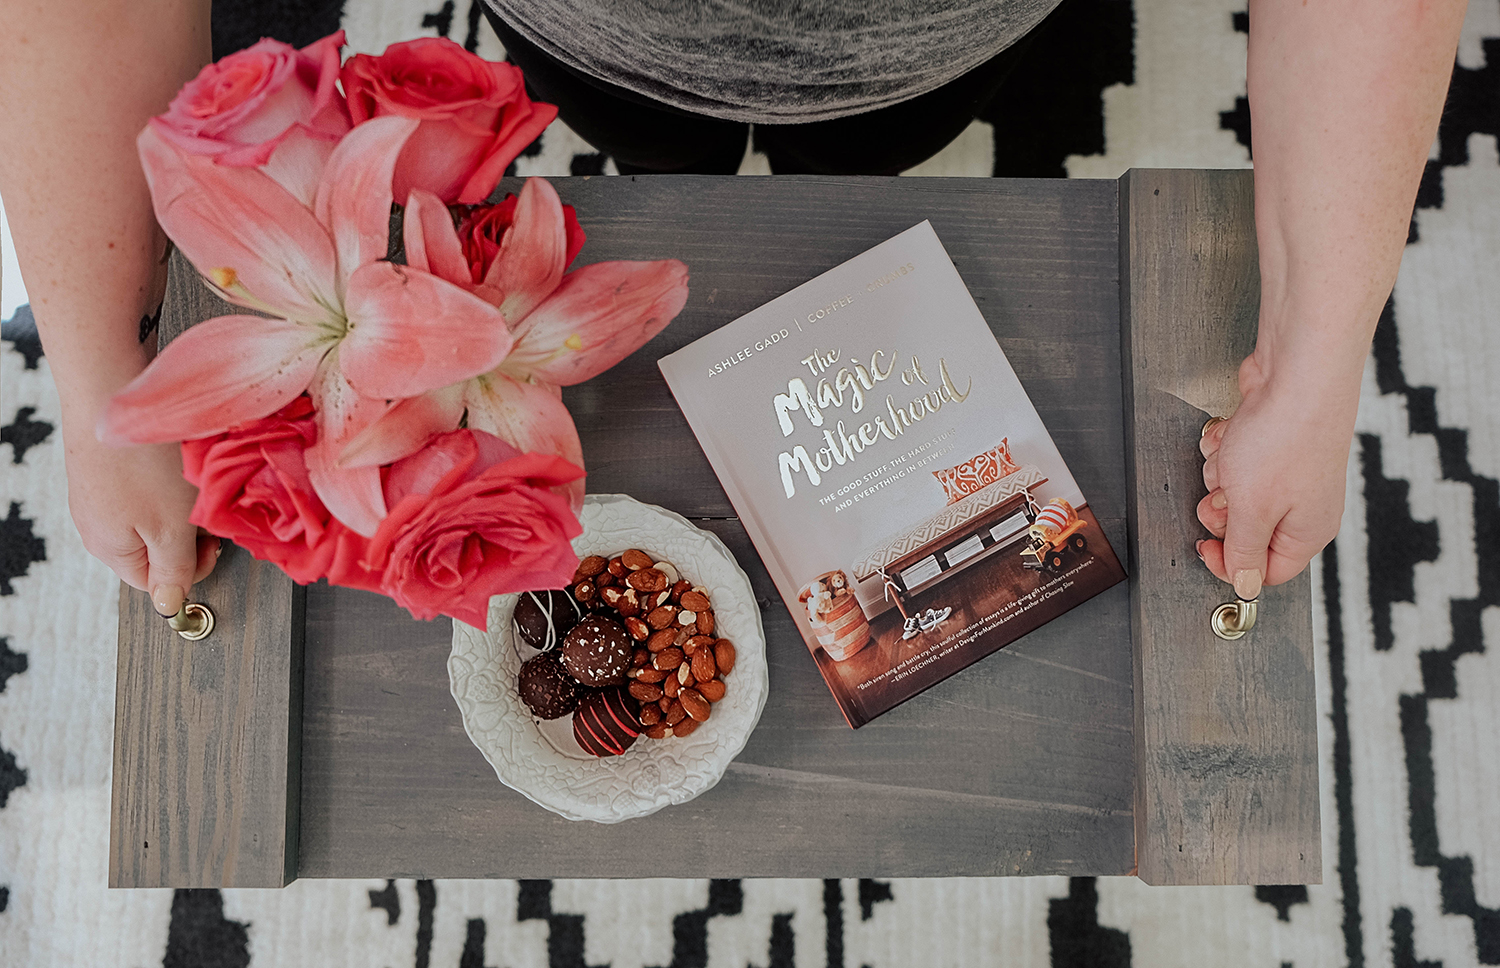

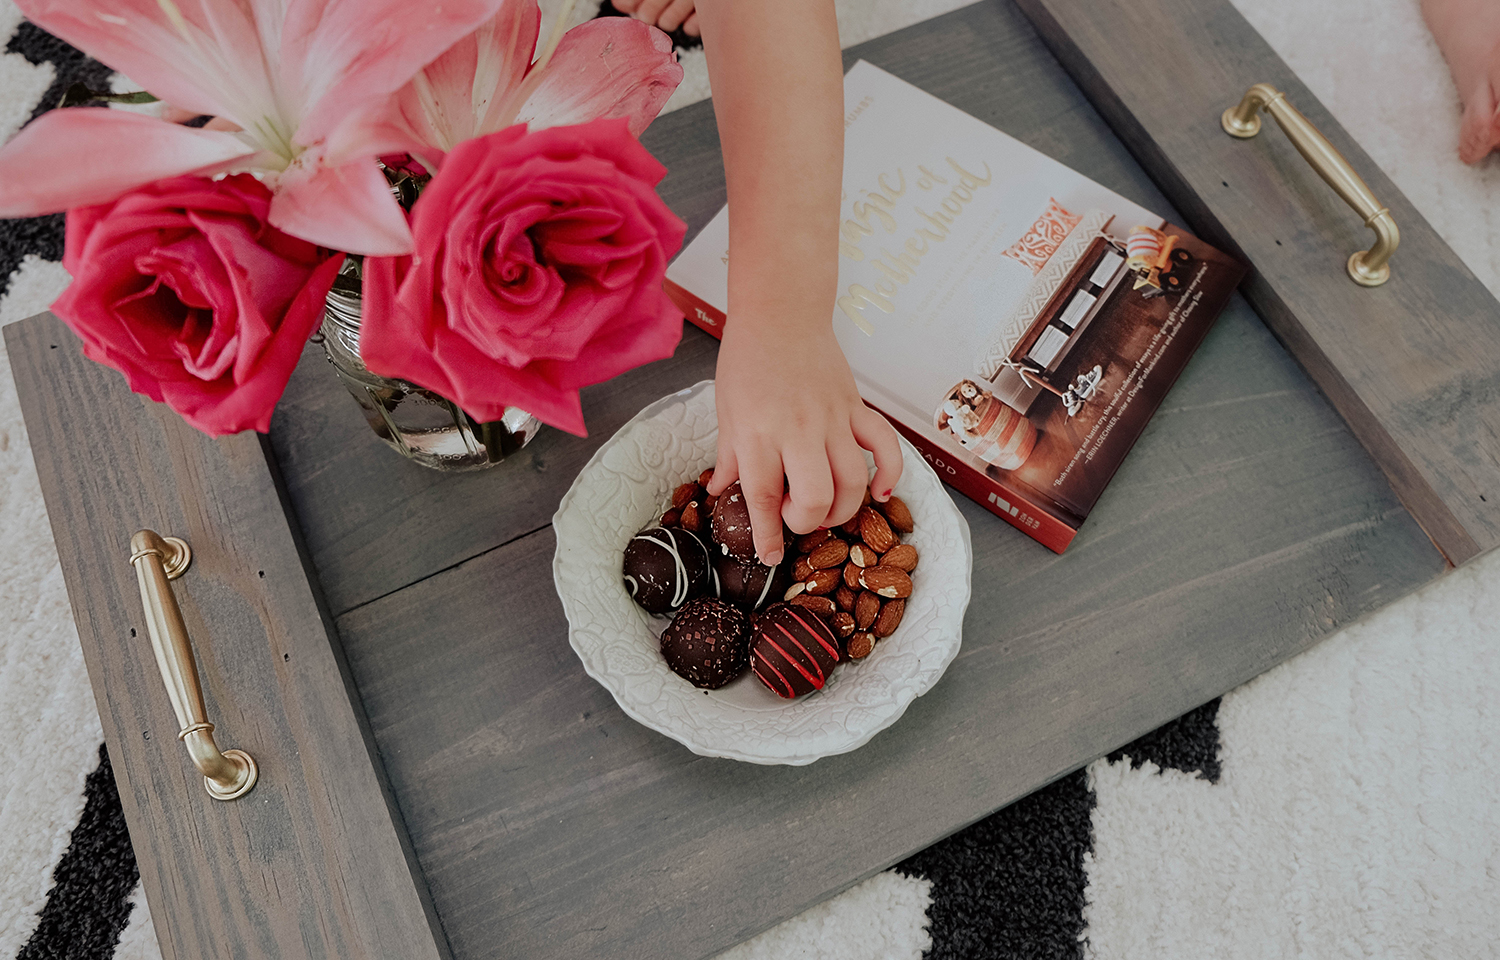
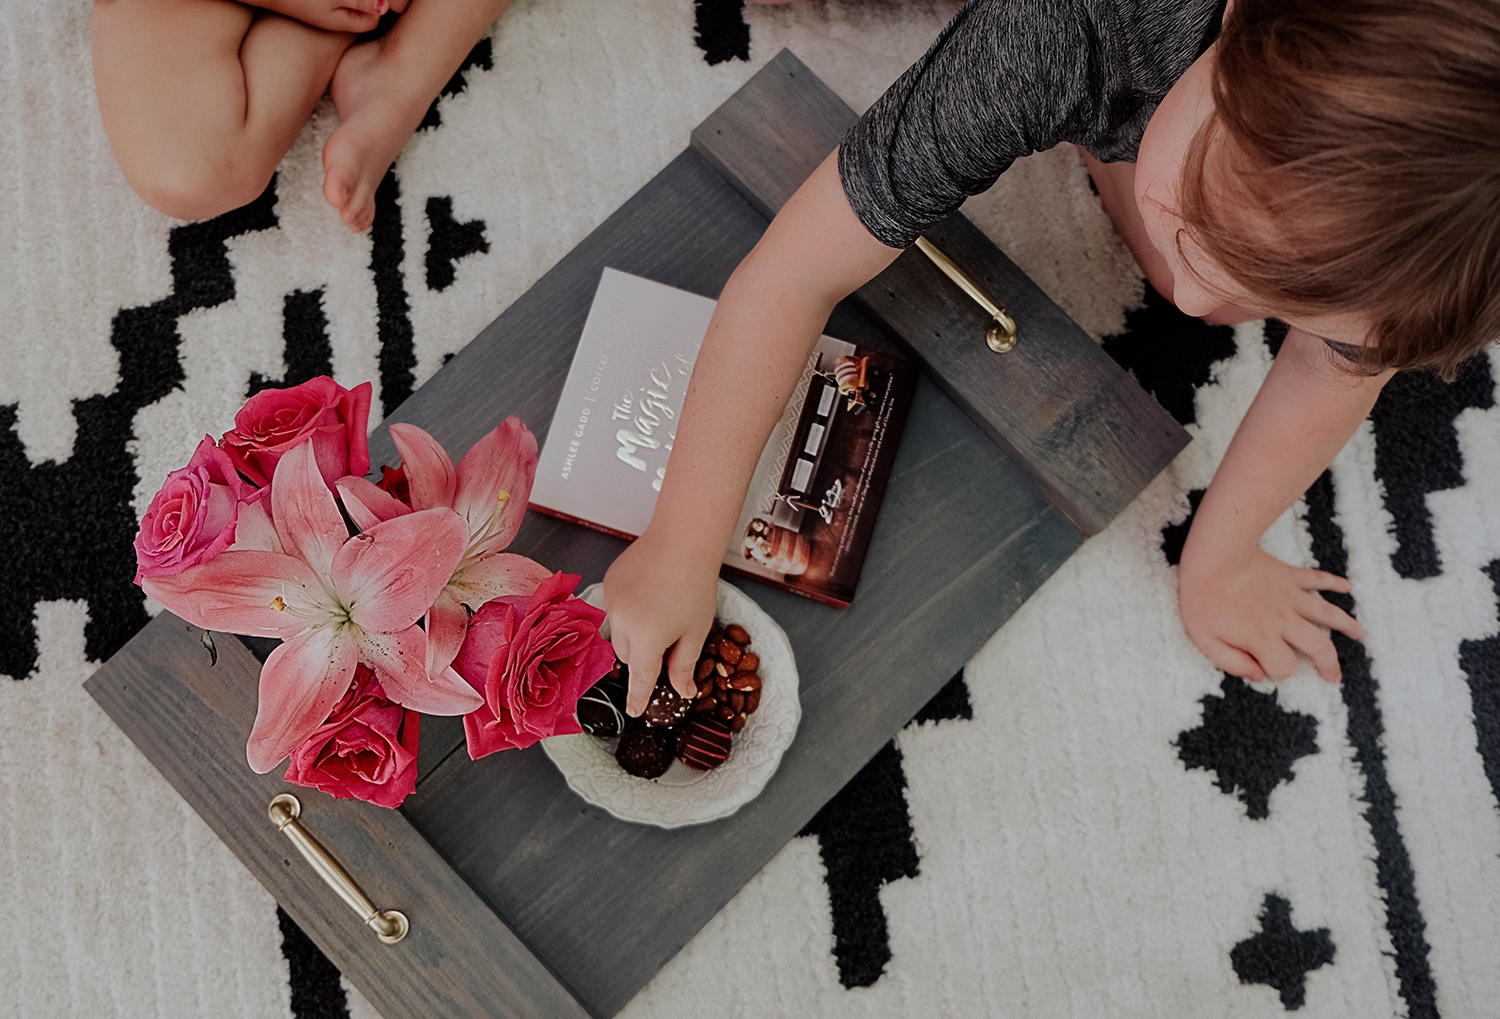
I love the mix of rustic wood and modern hardware. The handles are definitely my favorite touch and going with the gray stain gave the tray a contemporary look. It’s such a versatile piece that can be used in any room of the house. And of course it wouldn’t be complete without some fresh flowers from 1-800 Flowers. Don’t forget that Mother’s Day is Sunday, May 13th! You can see all the beautiful flower options 1-800 Flowers has for Mother’s Day here. From gorgeous roses to beautiful orchids, 1-800 Flowers has unique arrangements to celebrate all the amazing mama’s out there!
*This post was sponsored by 1-800 Flowers. All thoughts and opinions are my own*
buy Flagyl no prescription
http://rxbuywithoutprescriptiononline.net/zoloft.html
buy Pepcid online


Your pictures, this tray, that book, those flowers, those yummy treats! Send it all my way! Loved this blog post. I loved the DIY! I need your handy hubby to teach mine a thing or two!